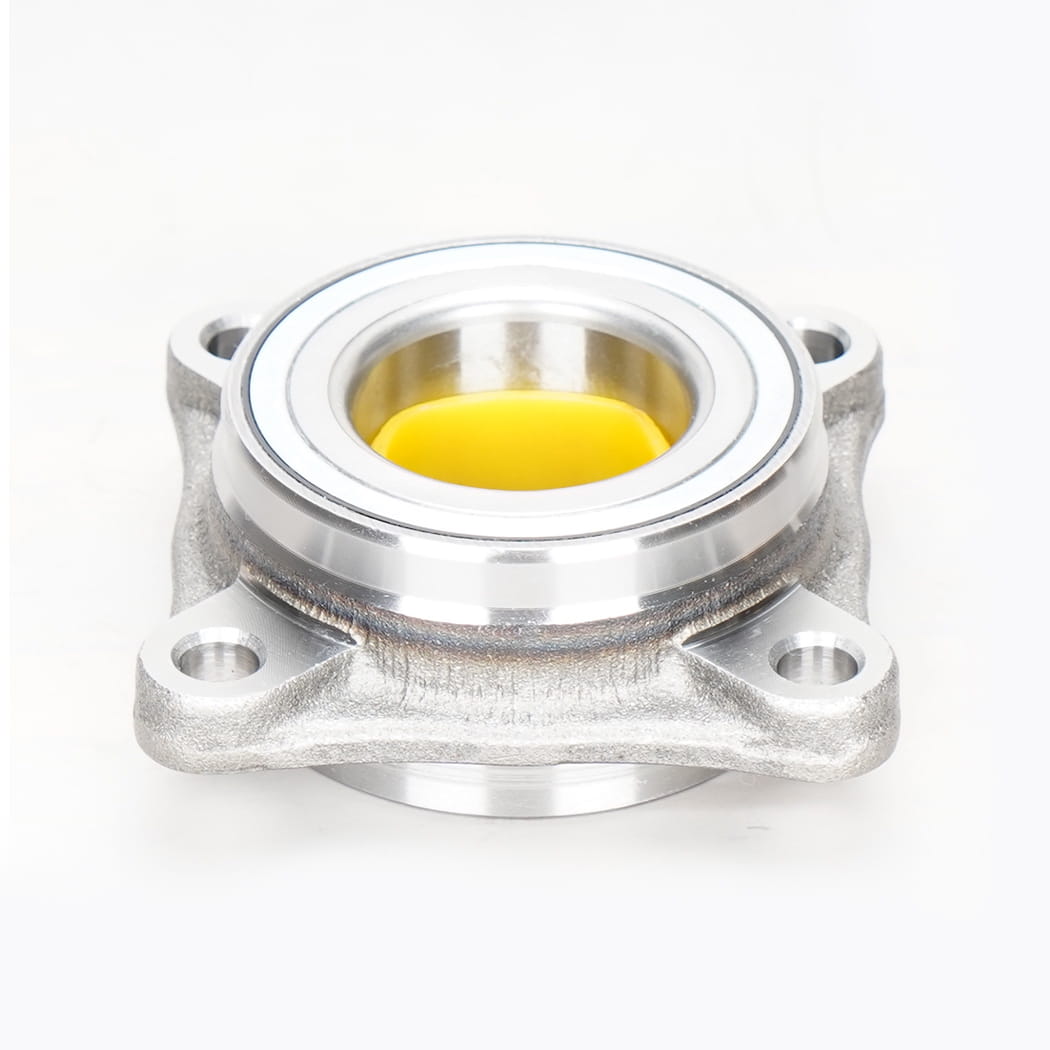
Signs of a Faulty Front Hub Assembly
Before delving into the steps for replacing the front hub assembly, it’s important to recognize the signs that indicate the part may be failing:
Grinding or Humming Noise: A worn-out bearing in the hub assembly often causes a grinding or humming noise, especially when turning. This sound can get louder over time, signaling that the assembly needs attention.
Steering Wheel Vibration: If the front hub assembly is damaged, you may experience steering wheel vibration, particularly at higher speeds. This can be caused by misalignment or worn bearings.
Wheel Play or Wobble: If you notice any wobbling or play in the wheel when driving, it could be due to a loose or damaged front hub assembly. This can lead to dangerous driving conditions if not addressed promptly.
ABS Warning Light: Since modern hub assemblies are often equipped with ABS sensors, a faulty hub assembly can trigger the ABS warning light on your dashboard, signaling an issue with wheel speed monitoring.
Steps for Replacing a Front Hub Assembly
If your front hub assembly is showing signs of failure, it’s important to replace it as soon as possible to avoid further damage or safety issues. Here’s a general guide to replacing the assembly:
Prepare the Vehicle: Before starting the replacement, ensure the vehicle is parked on a level surface and the parking brake is engaged. Raise the vehicle with a jack and secure it with jack stands.
Remove the Wheel: Use a lug wrench to remove the wheel. This will give you access to the hub assembly and allow you to work on it.
Disconnect the Brake Components: To access the hub assembly, you may need to remove the brake caliper, rotor, and any related components. Be careful not to damage the brake lines or sensors.
Remove the Old Hub Assembly: Depending on the make and model of your vehicle, you may need to remove the hub assembly by disconnecting bolts, nuts, and the axle shaft. Use appropriate tools to avoid damaging surrounding components.

Install the New Hub Assembly: Position the new front hub assembly in place, making sure it aligns with the axle shaft and other components. Tighten the bolts securely and reassemble the brake components.
Reinstall the Wheel: Once the hub assembly is replaced, mount the wheel back on and tighten the lug nuts. Lower the vehicle back to the ground and perform a final check on all components.
Maintaining Your Front Hub Assembly
To extend the life of your front hub assembly and avoid frequent replacements, proper maintenance is essential:
Regular Inspections: Have the front hub assembly inspected regularly, especially if you experience any unusual noises or handling issues. Catching problems early can prevent costly repairs down the road.
Greasing the Bearings: Some front hub assemblies require periodic lubrication to ensure smooth operation. Follow the manufacturer's recommendations for maintaining the bearings.
Keep the Area Clean: Dirt, debris, and moisture can cause corrosion and damage to the hub assembly. Keep the area around the wheel hub clean and free of contaminants.
Use Quality Parts: Always opt for high-quality replacement parts when replacing your front hub assembly. High-quality bearings and materials will last longer and provide better performance.